Create an amortization schedule in just a couple of clicks. Follow the Step-By-Step instructions to learn how.
- To add an Amortization Schedule go to your Conditions and Documents section of your deal and click the green Add/Upload Conditions button.

- Click the drop-down Condition menu and scroll down to find Amortization Schedule under the Compliance Forms section. Press Add condition and close this page.
- Scroll down to find the Amortization Schedule condition under Compliance Forms. Click to expand.

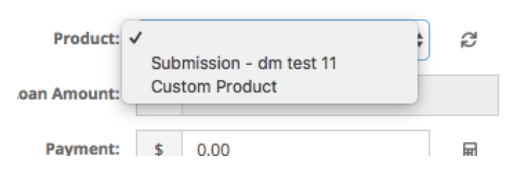
- Choose the product from the drop-down menu. You can either choose Submission Product, CRM Product or create a Custom Product.
- *Best practice* if you want to make changes is to choose the CRM or Submission Product first to let the field autofill, then change it to Custom Product to make changes. The majority of the fields will remain completed.
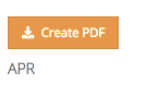
Once you’ve completed all of the fields click Create PDF.
- Your PDF will be stored at the bottom of the condition. You can click to view or remove it.
- If you make any changes to the data, click to create a new pdf.